
Press Ctrl+ and K to search
请注意,本文编写于 890 天前,最后修改于 147 天前,其中某些信息可能已经过时。
目录
1.进入nginx.conf配置文件
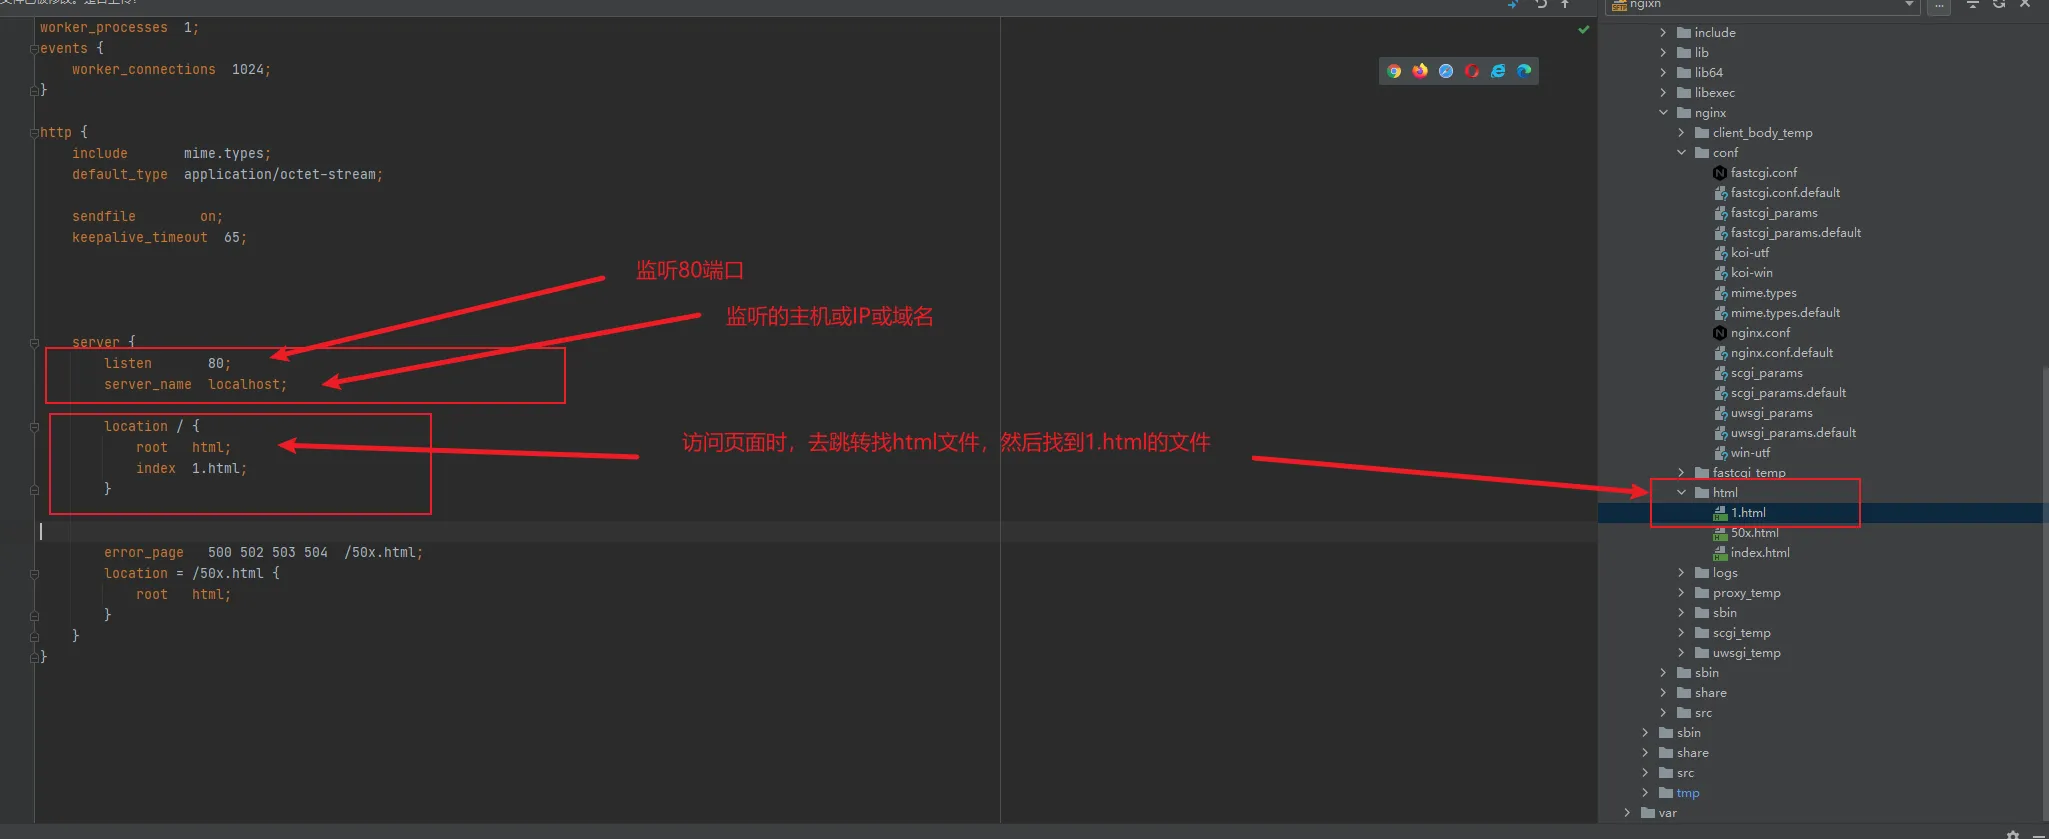
ymlworker_processes  1;

events {
    worker_connections  1024;
}


http {
    include       mime.types;
    default_type  application/octet-stream;

    sendfile        on;

    server {
        listen       80;   #监听的端口
        server_name  localhost;   #监听的主机IP


        location / {
            root   html;
            index  index.html index.htm;
        }

        error_page   500 502 503 504  /50x.html;
        location = /50x.html {
            root   html;
        }


    }

}
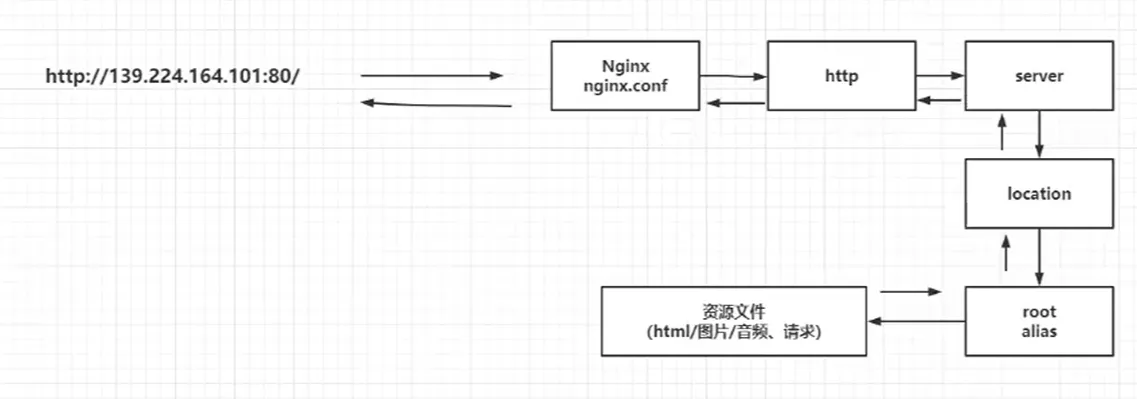
2. nginx加载默认页面的过程
访问ip地址 -> nginx配置文件 nginx.conf ->http ->server ->location ->root alias->资源文件
3.外置配置文件
ymlworker_processes  1;

events {
    worker_connections  1024;
}


http {
    include       mime.types;
    default_type  application/octet-stream;

    sendfile        on;

    include   songxuan.conf; #配置外置文件
}
jsvi songxuan.conf
yml    server {
        listen       81;   #监听的端口
        server_name  localhost;   #监听的主机IP


        location / {
            root   html;
            index  index.html index.htm;
        }

        error_page   500 502 503 504  /50x.html;
        location = /50x.html {
            root   html;
        }


    }
重新启动后验证没问题
4.反向代理
修改外置文件的songxuan.conf
jsvi songxuan.conf
yml    server {
        listen       81;   #监听的端口
        server_name  localhost;   #监听的主机IP


        location / {
            root   html;
            index  index.html index.htm;
            proxy_pass http://192.168.201.100:8081;  #反向代理的跳转到的服务器
        }

        error_page   500 502 503 504  /50x.html;
        location = /50x.html {
            root   html;
        }


    }
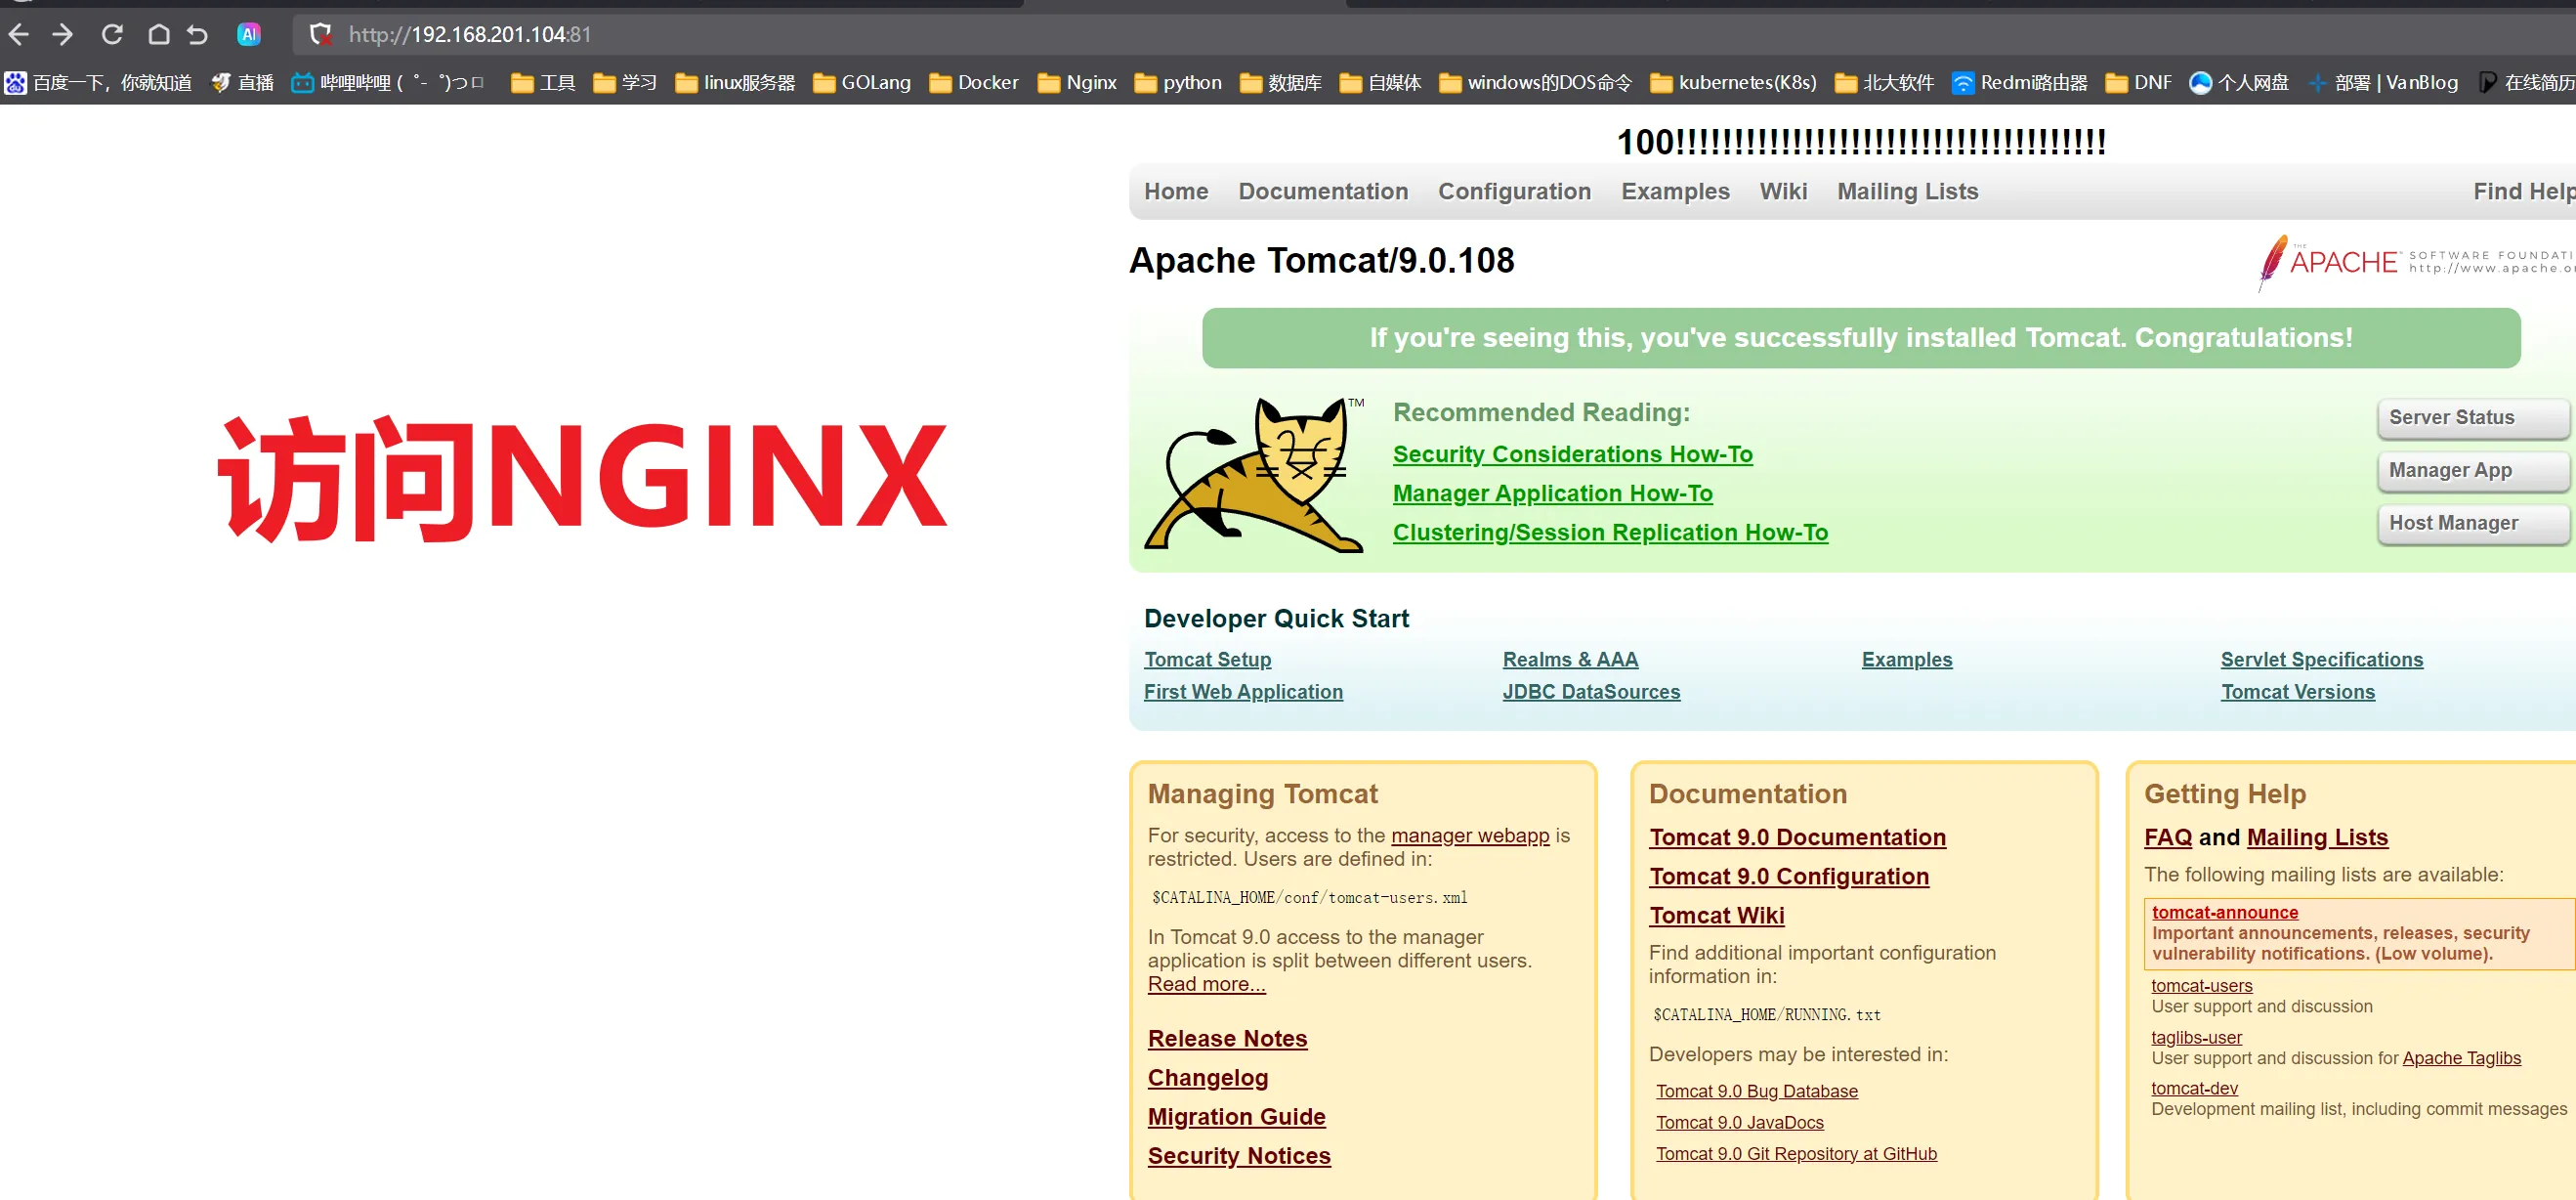
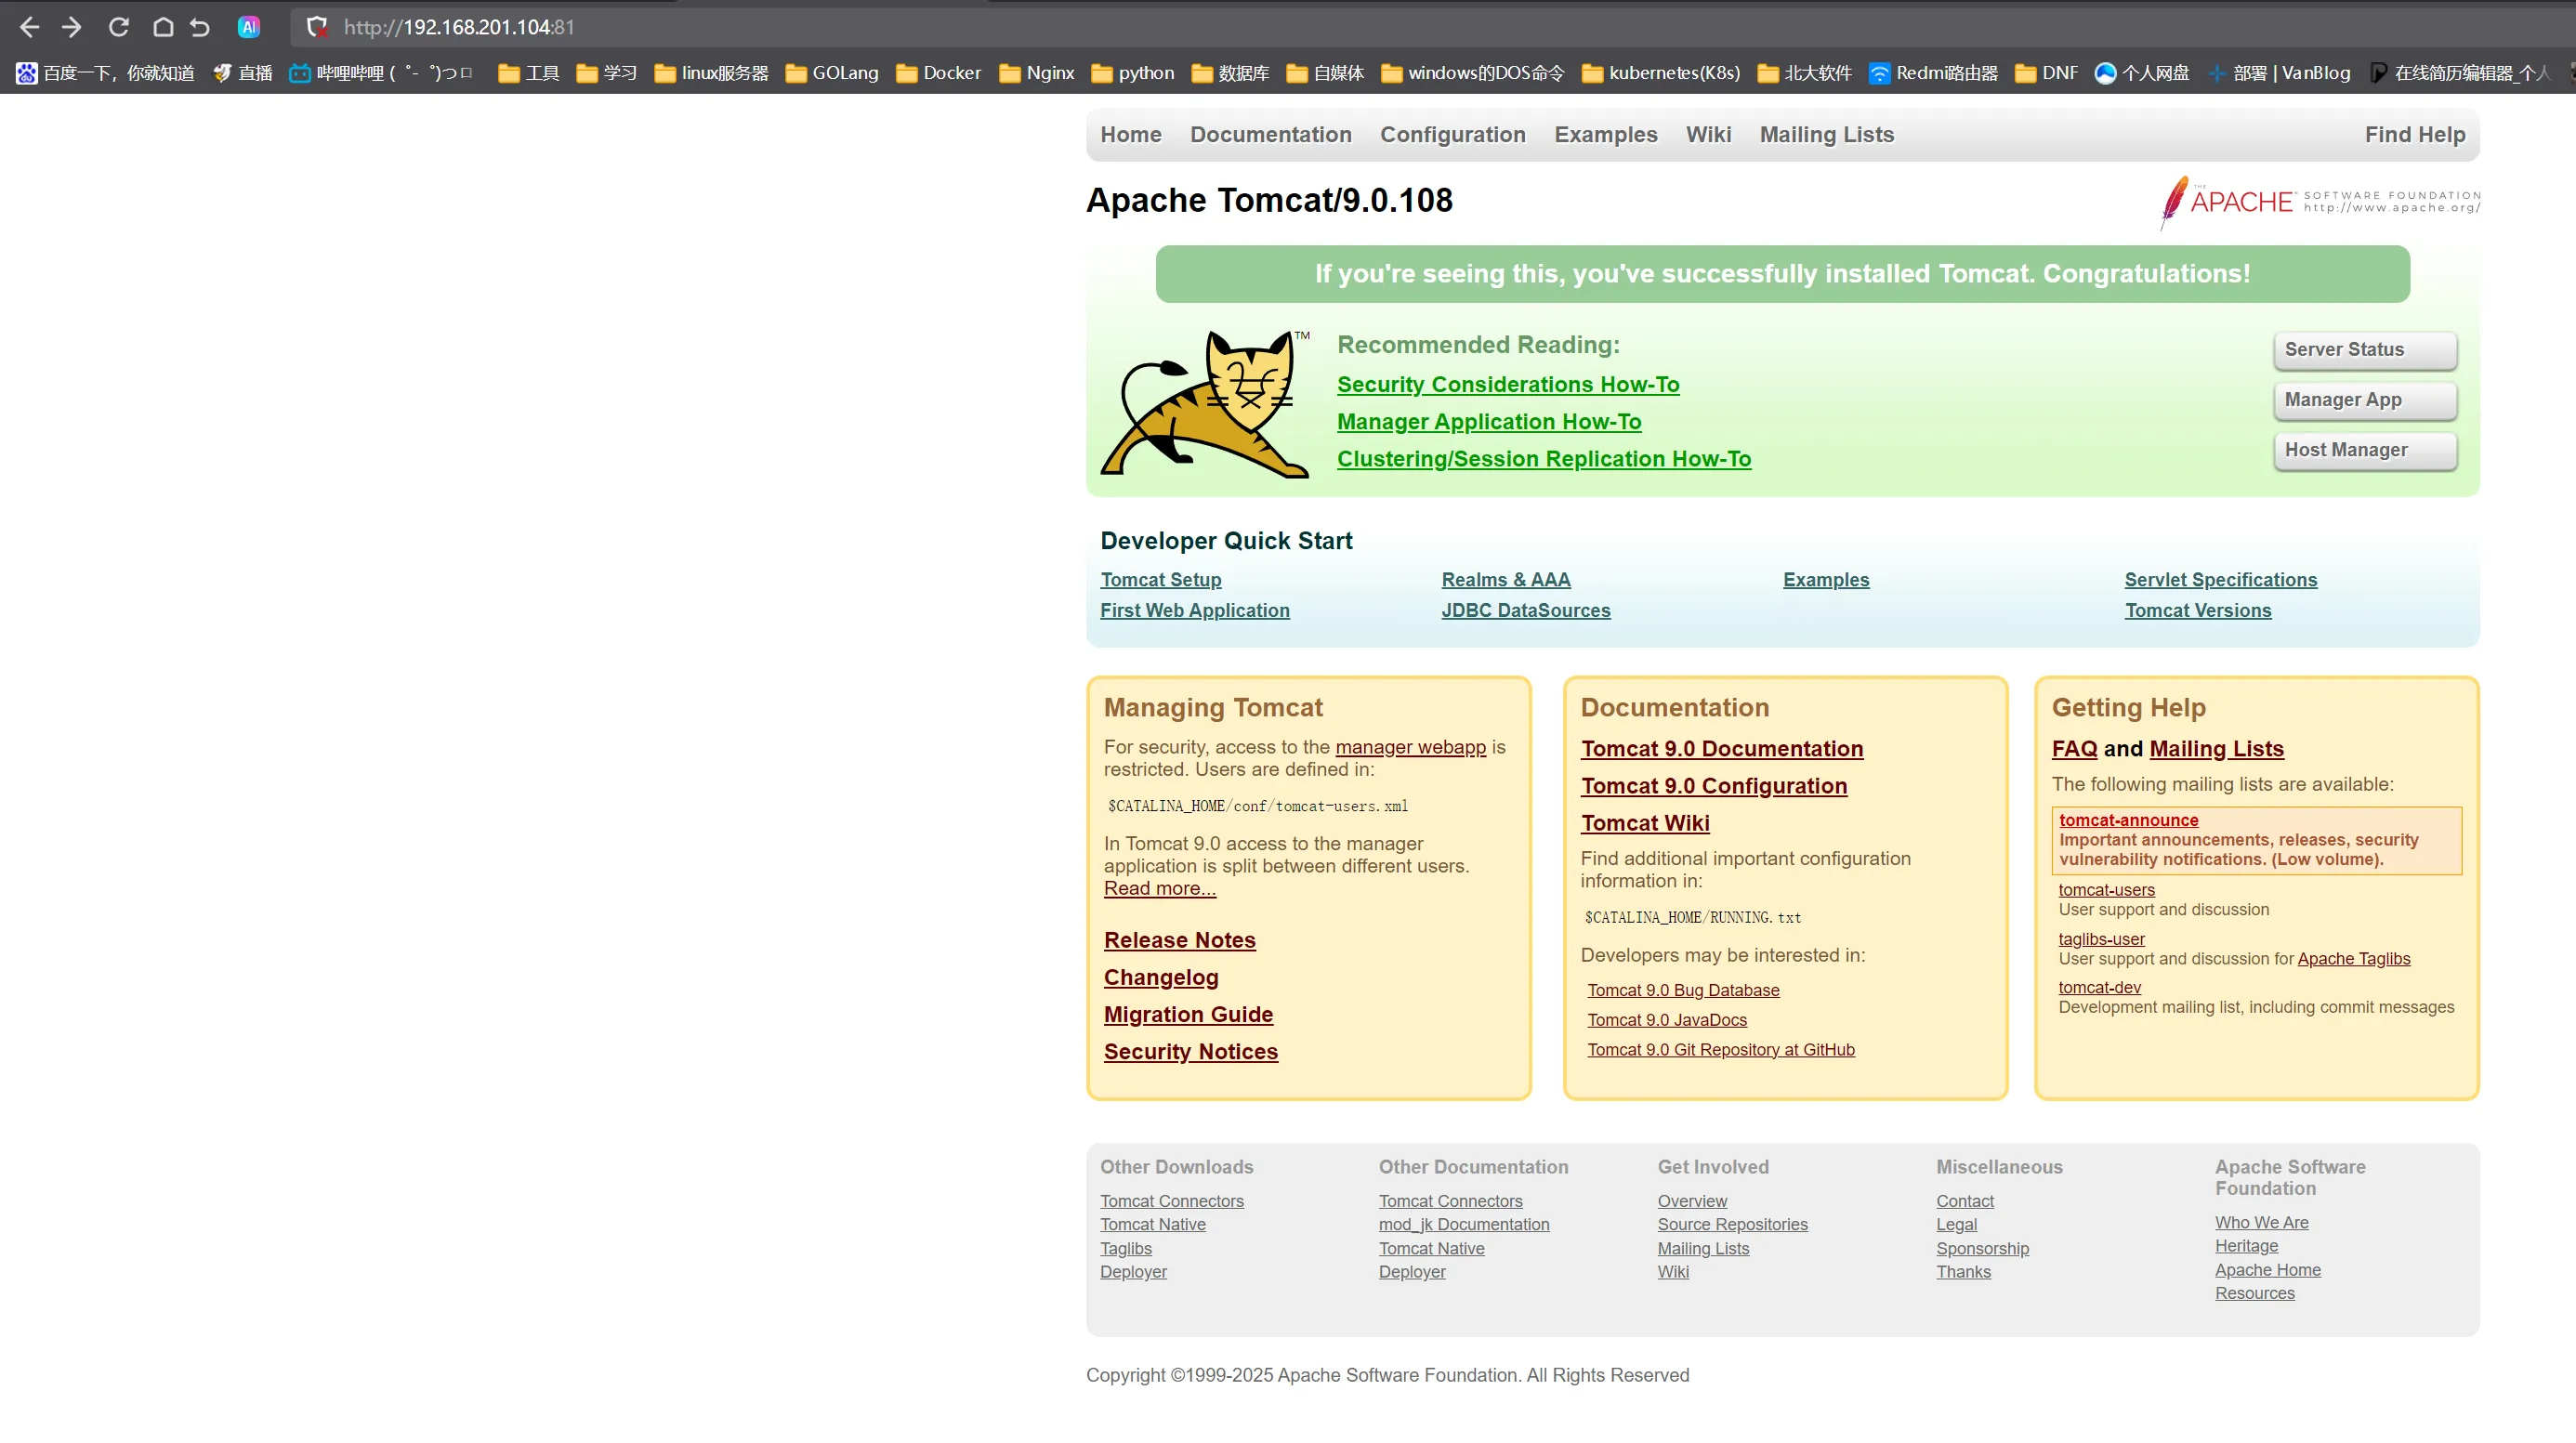
当用户访问我nginx服务器http://192.168.201.104:81/ 时,他就会跳转访问到我 http://192.168.201.100:8081/
当访问我nginx服务的81端口时就会反向代理我另一台服务器的Tomcat。
5.负载均衡
yml    upstream songxuan {         #这里起个upstream然后用自己的命名
        server  192.168.201.100:8081;     #负载均衡的机器和端口
        server  192.168.201.101:8082;
    }
    server {
        listen       81;   #监听的端口
        server_name  localhost;   #监听的主机IP


        location / {
            root   html;
            index  index.html index.htm;
            proxy_pass  http://songxuan;  #直接起个命名
        }

        error_page   500 502 503 504  /50x.html;
        location = /50x.html {
            root   html;
        }


    }
这样就能两台tomcat服务器进行负载均衡了
6.多重轮询
weight加了这个后,每5个用户的请求都转到这台机器
yml    upstream songxuan {         #这里起个upstream然后用自己的命名
        server  192.168.201.100:8081 weight=5;     #负载均衡的机器和端口
        server  192.168.201.101:8082;
    }
    server {
        listen       81;   #监听的端口
        server_name  localhost;   #监听的主机IP


        location / {
            root   html;
            index  index.html index.htm;
            proxy_pass  http://songxuan;  #直接起个命名
        }

        error_page   500 502 503 504  /50x.html;
        location = /50x.html {
            root   html;
        }


    }
7.可以利用nginx进行网站的维护
yml    upstream songxuan {         #这里起个upstream然后用自己的命名
        server  192.168.201.100:8081 weight=5;     #负载均衡的机器和端口
        server  192.168.201.101:8082;
    }
    server {
        listen       81;   #监听的端口
        server_name  localhost;   #监听的主机IP


        location / {
            root   /usr/local/nginx/html;
            index  weihu.html;           #指定访问/usr/local/nginx/html下的weihu.html
          #  proxy_pass  http://songxuan;  #直接起个命名
        }

        error_page   500 502 503 504  /50x.html;
        location = /50x.html {
            root   html;
        }


    }
重新加载配置文件
jsnginx -s reload

本文作者:松轩(^U^)
本文链接:
版权声明:本博客所有文章除特别声明外,均采用 BY-NC-SA 许可协议。转载请注明出处!
目录